Frames
|
This module is not available in the current version. It will be available in a future version. Use this page for reference only. |
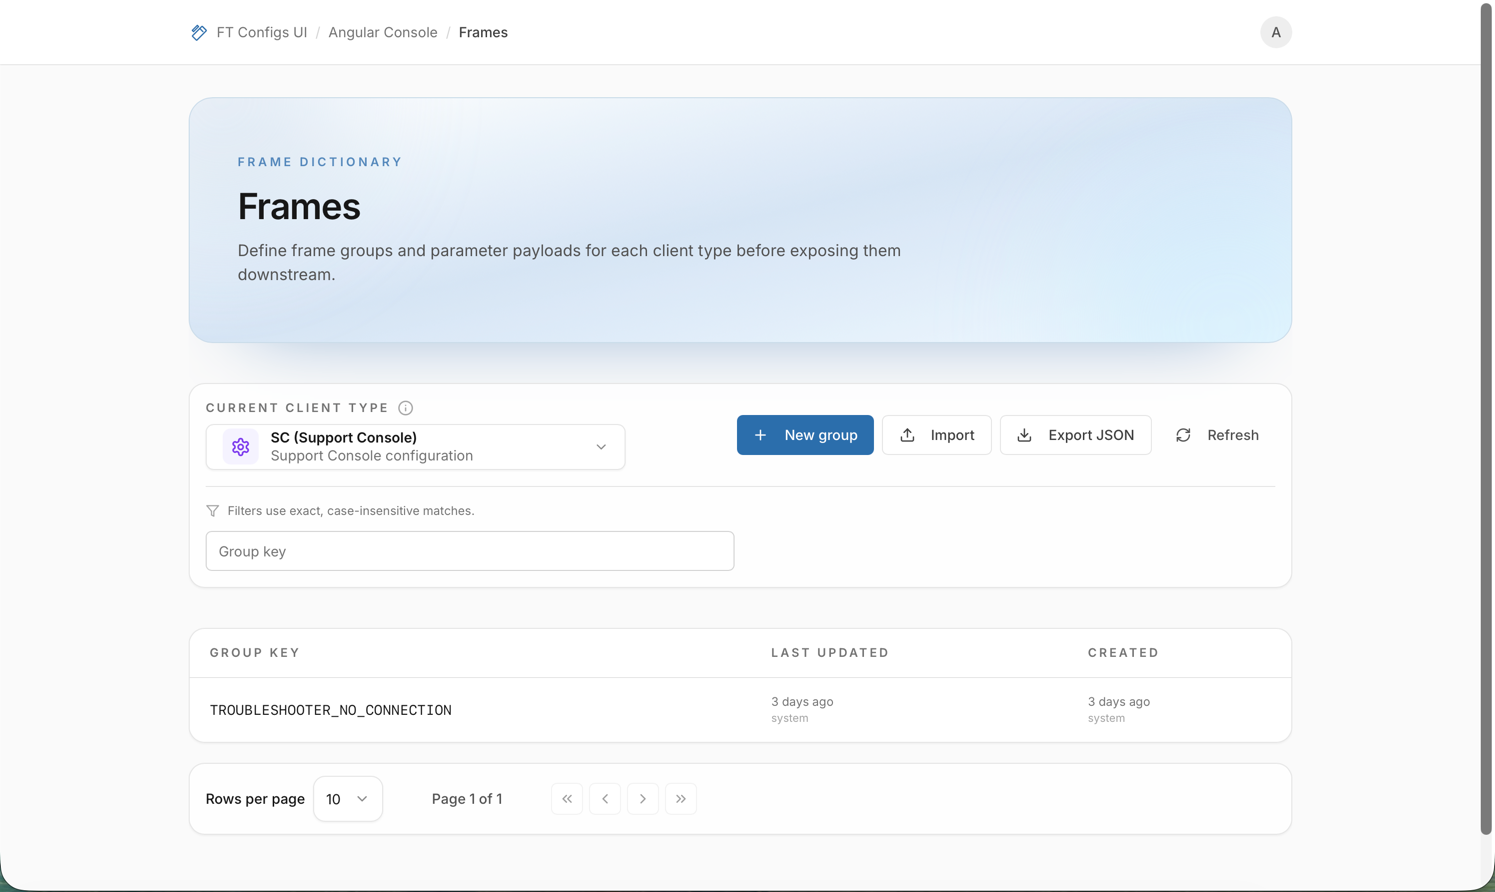
Frames defines frame groups for each client type. Each group holds parameter names and values. You can view and export frames. With edit rights, you can also change them.
Where to find parameter descriptions: Open the group dialog or the parameter dialog. The Key, Name, and Value fields have a hint under the input.
When to use it
Use Frames to do the following:
-
Review existing parameter structures.
-
Change parameter values or metadata.
-
Add or remove parameters in a frame group.
-
Import or export frame configurations.
Before you start
-
Open Angular Console → Frames.
-
Select a Client type, for example DEF, MC, or SC.
-
Check your role.
Roles for this module:
-
VIEWER: browse and export frames.
-
EDITOR or ADMIN: create, edit, delete, and import frames.
| If you do not select a client type, the module shows an empty state. |
Find a frame group
-
Open Frames from the Angular Console dashboard.
-
Select the Client type.
-
Use the Key filter to narrow the list of frame groups.
-
Select a frame group to see its parameters and structure.
VIEWER accounts can browse all data in read-only mode.
Change a frame group
Required role: EDITOR or ADMIN.
A change to a frame changes how the system reads parameters. Work with care.
-
Select a frame group and open its parameters view.
-
Change the group key, the parameter names, or the values.
-
Save the changes.
-
Refresh the view.
Expected result: the view shows the new values.
| After large changes, export a snapshot. |
Export a snapshot
Export creates a snapshot of the current frame configuration.
-
Select the Client type.
-
Click Export.
-
Save the downloaded JSON file on your computer.
For details, see Export a Snapshot.
Import with dry-run
Import applies many changes at once from a JSON file. Dry-run is required. It always runs before the system applies the import.
-
Select the Client type.
-
Click Import.
-
Select the import mode: MERGE or REPLACE.
-
Upload a JSON file.
-
Read the dry-run result.
-
Apply the import only if the result matches your intent.
| Click Export first to get a correct file structure for your environment. Change that file and import it again. This avoids schema and validation errors. |
| REPLACE mode can remove existing frame data. Always check the dry-run result before you apply an import. |